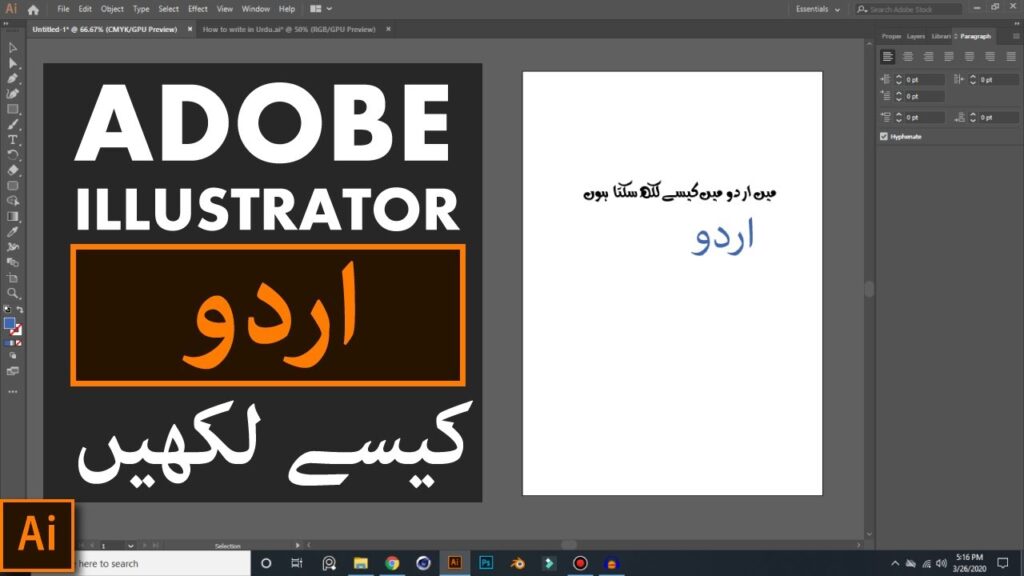
Introduction
Urdu, with its beautiful Nastaliq script, adds elegance to any design—whether it’s logos, posters, or social media graphics. However, Adobe Illustrator’s default settings aren’t optimized for right-to-left (RTL) languages like Urdu, leading to alignment and font issues.
This guide will teach you professional techniques to perfect Urdu typography in Illustrator, including font pairing, text manipulation, and creative effects.
1. Choosing the Best Urdu Fonts for Illustrator
Not all fonts support Urdu characters properly. Here are the top professional Urdu fonts for Illustrator:
Recommended Urdu Fonts:
✔ Jameel Noori Nastaleeq (Classic Nastaliq style)
✔ Noto Nastaliq Urdu (Clean, Google Fonts)
✔ Pak Nastaleeq (Traditional calligraphic feel)
✔ Alvi Nastaleeq (Balanced readability)
💡 Pro Tip: Avoid system-default fonts like Arial or Times New Roman, as they may not render Urdu correctly.
2. Setting Up Illustrator for Urdu Text
Enable Middle Eastern Language Support (For CC Users)
- Go to Edit → Preferences → Type (Windows) or Illustrator → Preferences → Type (Mac).
- Check “Show Indic Options” or “Middle Eastern Features.”
- Restart Illustrator.
Adjust Paragraph Settings for RTL Typing
- Open the Paragraph Panel (Window → Type → Paragraph).
- Click the Right-to-Left (RTL) Text Button (↔).
- Use Justify Right for proper Urdu alignment.
3. Typing Urdu Text Efficiently
Since most keyboards don’t support Urdu directly, use these methods:
Method 1: Use an Online Urdu Keyboard
- Visit Branah Urdu Keyboard
- Type your text → Copy → Paste into Illustrator.
Method 2: Install Urdu Keyboard Layout (Windows/Mac)
- Windows: Add Urdu (Pakistan) keyboard via Settings → Language.
- Mac: Go to System Preferences → Keyboard → Input Sources → Add Urdu.
Method 3: Use InPage Urdu Software (For Advanced Users)
- Design in InPage Urdu → Export as PDF → Open in Illustrator for vector editing.
4. Advanced Urdu Text Effects
Make your Urdu typography stand out with these effects:
A. Gradient & 3D Urdu Text
- Type your Urdu text.
- Apply a gradient fill (Window → Gradient).
- Use Effect → 3D → Extrude & Bevel for depth.
B. Urdu Calligraphy with Brush Tool
- Write Urdu text → Convert to Outlines (Ctrl+Shift+O).
- Use the Width Tool (Shift+W) to adjust stroke thickness.
- Apply Calligraphic Brushes for hand-drawn effects.
C. Warped Urdu Text for Logos
- Select Urdu text → Object → Envelope Distort → Make with Warp.
- Choose Arc, Flag, or Rise for creative curves.
5. Exporting Urdu Designs Without Font Errors
To ensure Urdu text appears correctly in exported files:
- Save as PDF (Preserve text editing).
- Convert to Outlines (Ctrl+Shift+O) before exporting to PNG/SVG.
- Embed Fonts when sharing AI files.
Troubleshooting Urdu Text Issues
🚫 Problem: Urdu letters appear disconnected.
✅ Fix: Use a proper Nastaliq font (e.g., Jameel Noori).
🚫 Problem: Text alignment is reversed.
✅ Fix: Enable RTL in the Paragraph panel.
🚫 Problem: Font not showing in Illustrator.
✅ Fix: Install font system-wide & restart Illustrator.
Final Thoughts
Mastering Urdu typography in Illustrator requires the right fonts, RTL settings, and creative techniques. Whether you’re designing social media banners, logos, or Islamic calligraphy, these tips will help you achieve professional results.
🔥 Bonus Tip: Experiment with Pathfinder tools to merge Urdu letters for unique logo designs!