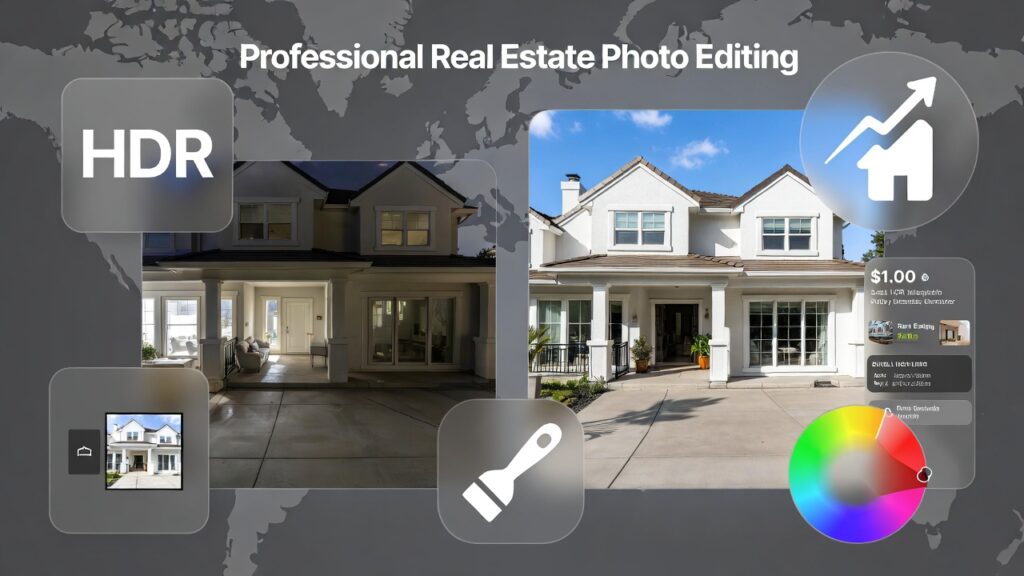
Real Estate Photo Editing
In real estate, buyers often decide whether to explore a property within seconds of viewing it online. That first impression is almost always based on images. This is where Professional Real Estate Photo Editing becomes a powerful tool for agents, photographers, and property marketers. High-quality, well-edited photos can turn an average listing into a visually compelling opportunity that attracts more attention and inquiries.
Even well-shot photos can suffer from poor lighting, dull colors, or unwanted distractions. Professional editing refines these elements, ensuring every room looks bright, spacious, and inviting—without misleading the viewer. It bridges the gap between what a camera captures and what the human eye perceives.
According to industry data from the National Association of Realtors, listings with high-quality images receive significantly more views and engagement. In this guide, you’ll learn expert techniques, tools, and workflows behind Professional Real Estate Photo Editing to help you create stunning visuals that drive faster sales and stronger buyer interest.
What Is Professional Real Estate Photo Editing?
Professional Real Estate Photo Editing is the process of enhancing property images to improve lighting, color balance, composition, and overall presentation while maintaining realism and accuracy.
Unlike basic editing, it focuses on making spaces look clean, bright, and proportionally correct. The goal is to showcase the property in its best possible light without misrepresentation.
Core Objectives:
- Brighten interiors and balance exposure
- Correct colors for a natural appearance
- Enhance spatial depth and clarity
- Remove distractions and imperfections
Common Editing Tasks:
- HDR blending or exposure merging
- Perspective correction
- Sky replacement
- Object removal (clutter, wires, stains)
- Window view enhancement
Consistency across all listing images is essential for a professional presentation.
Key Techniques in Professional Real Estate Photo Editing
1. HDR Blending for Balanced Exposure
Real estate images often include bright windows and darker interiors. HDR (High Dynamic Range) blending combines multiple exposures to balance these extremes.
Benefits:
- Preserves details in highlights and shadows
- Creates natural-looking brightness
- Improves depth and clarity
2. Perspective Correction and Alignment
Wide-angle lenses can distort vertical and horizontal lines, making rooms appear uneven.
Corrections Include:
- Straightening walls and ceilings
- Aligning furniture proportions
- Fixing lens distortion
Accurate perspective builds trust and ensures the property looks realistic.
3. Color Correction and White Balance
Mixed lighting sources can create color inconsistencies in interior shots.
| Adjustment Tool | Purpose |
|---|---|
| White Balance | Neutralize color casts |
| Curves & Levels | Improve brightness and contrast |
| Hue/Saturation | Refine color tones |
| Color Balance | Ensure natural interior colors |
Correct colors help buyers visualize the space accurately.
4. Sky Replacement and Enhancement
Outdoor shots often benefit from a clear and vibrant sky.
Common Options:
- Bright blue sky for a fresh look
- Sunset tones for emotional appeal
- Soft clouds for a balanced aesthetic
Sky enhancement improves curb appeal and overall listing quality.
5. Object Removal and Decluttering
Unwanted elements can distract buyers from the property’s features.
What to remove:
- Electrical wires
- Trash bins
- Personal items
- Stains or marks
Clean visuals help highlight the property’s strengths.
Tools Used for Real Estate Photo Editing
Professional Software:
- Adobe Photoshop – Advanced retouching and object removal
- Adobe Lightroom – Batch processing and color correction
- Capture One – High-quality RAW image editing
Additional Tools:
- Photomatix – HDR processing
- Luminar AI – Sky replacement and enhancements
- Topaz AI – Noise reduction and sharpening
Step-by-Step Professional Workflow
Step 1: Image Selection
Choose the best shots with proper composition and lighting.
Step 2: Exposure Blending
Merge multiple exposures for balanced lighting.
Step 3: Basic Adjustments
Correct brightness, contrast, and white balance.
Step 4: Perspective Correction
Fix distortions and align vertical lines.
Step 5: Retouching
Remove unwanted objects and clean up details.
Step 6: Final Enhancement
Adjust colors, replace sky if needed, and sharpen the image.
Step 7: Export Optimization
Resize and compress images for listing platforms.
Common Mistakes to Avoid
- Over-editing that makes spaces look unrealistic
- Using unnatural sky replacements
- Ignoring perspective distortions
- Inconsistent color tones across images
- Over-saturation of colors
Maintaining realism is essential for building buyer trust.
Benefits of Professional Real Estate Photo Editing
Why It Matters:
- Increases listing visibility and engagement
- Attracts more potential buyers
- Helps properties sell faster
- Enhances brand credibility for agents
- Improves marketing performance
High-quality visuals create stronger emotional connections with buyers.
FAQs About Professional Real Estate Photo Editing
What is professional real estate photo editing?
It is the process of enhancing property images to improve lighting, color, and overall presentation for real estate listings.
How long does real estate photo editing take?
It usually takes 10 to 30 minutes per image, depending on complexity.
What is HDR in real estate photography?
HDR combines multiple exposures to create a balanced image with detailed highlights and shadows.
Is sky replacement allowed in real estate images?
Yes, as long as it looks natural and does not misrepresent the property.
How much does professional real estate photo editing cost?
Prices typically range from $1 to $10 per image, depending on the level of editing.
Conclusion: Elevate Listings with Professional Real Estate Photo Editing
Professional Real Estate Photo Editing is essential for creating visually appealing property listings that attract attention and drive results. From HDR blending to perspective correction and sky enhancement, each technique contributes to a polished and professional image.
By applying expert editing practices and maintaining consistency, you can significantly improve the impact of your listings and attract more buyers.