Introduction
You have a crisp logo on your screen and a Tajima machine sitting idle. But when you load that converted file and hit start, the needle goes wild. Thread snaps, fabric puckers, and your perfect design turns into a tangled mess. The problem is not your machine. The problem is how you handle Image Conversion for Tajima Embroidery Machine. Tajima machines speak a specific language, and if you feed them the wrong file structure, they will punish you with skipped stitches and birdnesting. I have spent years learning what works and what fails. In this guide, I will walk you through every step to convert your images into files that stitch out flawlessly on any Tajima model.
Why Your Tajima Demands the DST Format
Tajima machines practically invented the commercial embroidery game, and they come with their own preferred language. The DST format, which stands for Data Stitch Tajima, is the undisputed king of industrial embroidery . Unlike home machine formats that store color information, DST files keep things simple. They only contain stitch coordinates and machine commands .
That simplicity makes DST incredibly stable and reliable. Your Tajima does not waste time reading extra data about thread colors or fancy preview images. It just stitches exactly where you tell it to go. The tradeoff is that you need to manually set your color changes at the machine. But for production work, that small inconvenience beats dealing with file corruption or machine crashes.
Most commercial machines from Tajima, Barudan, and Ricoma all play nice with DST files . That means once you master conversion to DST, your designs work across multiple machines, not just your Tajima.
The Digitizing Step That Makes or Breaks Your Design
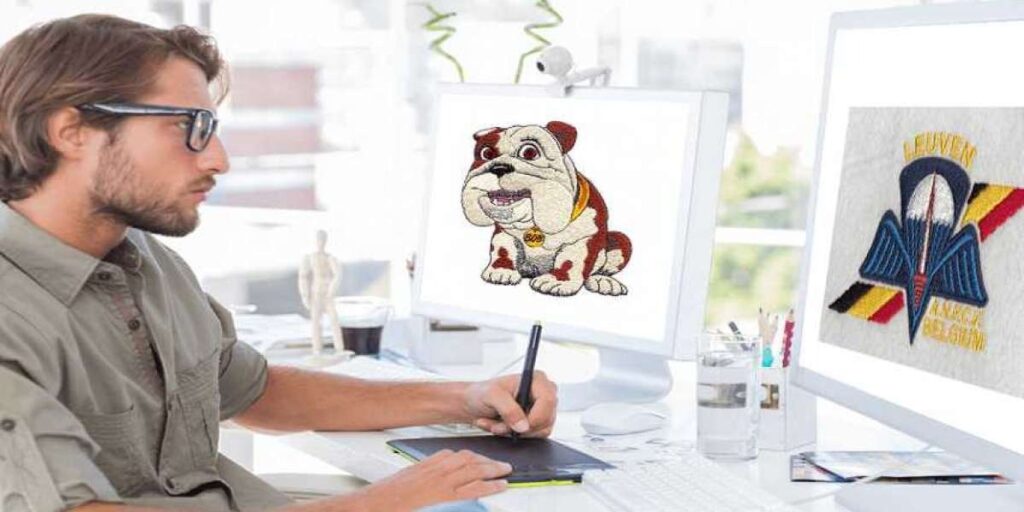
Converting an image is not about hitting a magic button. Real digitizing means rebuilding your logo stitch by stitch. When you open your image in software like Tajima DG/ML by Pulse, you need to trace every element manually . Auto-tracing tools might seem tempting, but they generate chaotic stitch paths that confuse your machine.
Start by breaking your logo into stitch objects. Satin stitches work beautifully for borders and lettering. Fill stitches, also called tatami, cover large background areas. Underlay stitches go down first and anchor everything to the fabric .
Here is where most beginners mess up. They skip underlay to save time, then wonder why their design shifts during stitching. Do not skip it. A good underlay pass prevents fabric distortion and keeps your letters crisp.
Setting the Right Density for Clean Coverage
Stitch density refers to how close each row of stitches sits next to its neighbor . Get this wrong, and your design falls apart. Too dense, and your needle punches the same holes repeatedly, shredding fabric and breaking threads. Too loose, and you see the shirt color peeking through your design.
Professional digitizers typically start with density values around 0.40 to 0.45 millimeters for standard 40-weight thread on stable fabric . But you need to adjust based on your material. Stretchy knits want lighter density to prevent tunneling. Thick materials like denim or canvas can handle tighter packing.
Dark thread on light fabric needs less density than light thread on dark fabric. The contrast makes gaps more visible when you stitch light colors over dark backgrounds. When in doubt, test on a scrap piece before running production.
Understanding Push and Pull Compensation
Here is a concept that separates pros from hobbyists. When your Tajima stitches, the thread tension actually pulls fabric inward and pushes shapes outward . A perfect circle in your original image can come out looking like an egg. A square might stitch into a rectangle.
Push compensation means deliberately distorting your digital design in the opposite direction of the expected distortion. If you know your satin columns will push outward, you digitize them slightly narrower than the final target width. If your fill areas pull inward, you expand them slightly.
Tajima DG/ML software offers automatic push compensation for satin stitches . For fills, you might need to manually remove two to four rows of stitches from the ends. Thicker threads demand more compensation than thin ones. These adjustments feel counterintuitive at first, but they produce the clean shapes your customers expect.
Thread Tension Settings That Save Your Sanity
Even the most perfectly digitized file fails if your tension is wrong. Tajima machines typically run best with upper thread tension between 100 and 130 grams, depending on your thread type . Rayon thread likes the higher end, around 110 to 130 grams. Polyester runs better at 100 to 110 grams. Your bobbin thread should sit between 30 and 35 grams.
If you own a newer Tajima TMEZ series machine, you have access to i-TM technology. This artificial intelligence system automatically adjusts upper thread tension based on the stitch type . Running stitches get tighter tension. Satin stitches get looser. The machine handles the math so you do not have to.
For older machines without auto-tension, invest in a digital tension gauge. Stop guessing whether the tension feels right. Measure it numerically and dial in the exact values . Your thread breaks will drop dramatically.
Managing Jump Stitches and Trims
Your Tajima moves between stitching areas by creating jump stitches, which are long threads that float above the fabric. If you leave them uncut, those threads snag on everything and ruin the back of your design.
Proper image conversion means telling the software exactly where to cut. In Tajima DG/ML, you set thread trimming parameters that activate when jump stitches exceed a certain length . A common threshold is three to five millimeters. Anything shorter than that, the machine leaves the thread and moves on. Anything longer triggers an automatic cut.
Place your trims strategically. Cutting too often wastes time and leaves tiny thread tails everywhere. Cutting too rarely creates a mess of loose threads on the back. For most logos, trim after every color change and after any jump longer than four millimeters.
Testing Before You Commit to Fabric
Never trust a converted file straight out of the software. Always run a test on the exact fabric type you plan to use for production. Different materials react differently to the same stitch settings.
Watch your test sew-out for three things. First, check for gaps in fill areas. If you see fabric between stitches, increase density or adjust pull compensation. Second, look for puckering around satin borders. That usually means your underlay needs adjustment or your tension is off. Third, inspect the back of the test piece. Clean, flat stitches on the back mean your file works. Tangled birdnests mean something went wrong in conversion.
Keep a log of what settings worked for each fabric type. After you test a few logos, you will notice patterns. Cotton twill likes certain density values. Performance polyester wants different underlay. That log saves you hours of retesting later.
Exporting Your Final Machine File
Once your design stitches cleanly on test fabric, export the final machine file. For Tajima machines, save as DST format . Double check that your export settings include all trim commands and color change stops. Some software defaults to stripping those out for compatibility, which ruins your production run.
Name your files clearly. Include the design name, finished size, and fabric type in the filename. Trust me, six months from now you will not remember which version worked on fleece versus pique polo shirts.
Conclusion
Converting images for your Tajima embroidery machine is not magic. It is a repeatable process of proper digitizing, correct density settings, push and pull compensation, calibrated tension, and smart trim placement. Each step builds on the last. Skip one, and your final stitch-out disappoints.
Start with the DST format because that is what your Tajima speaks fluently. Build your designs with care, testing on scraps before production runs. Adjust tension using actual measurements, not guesses. And always, always include proper underlay.
Your Tajima wants to run clean, fast, and reliable. Give it well-converted files, and it will reward you with flawless stitch output every single time. Rush the conversion, and you will spend your weekends ripping out mistakes. The choice is yours, but the process works when you follow it.