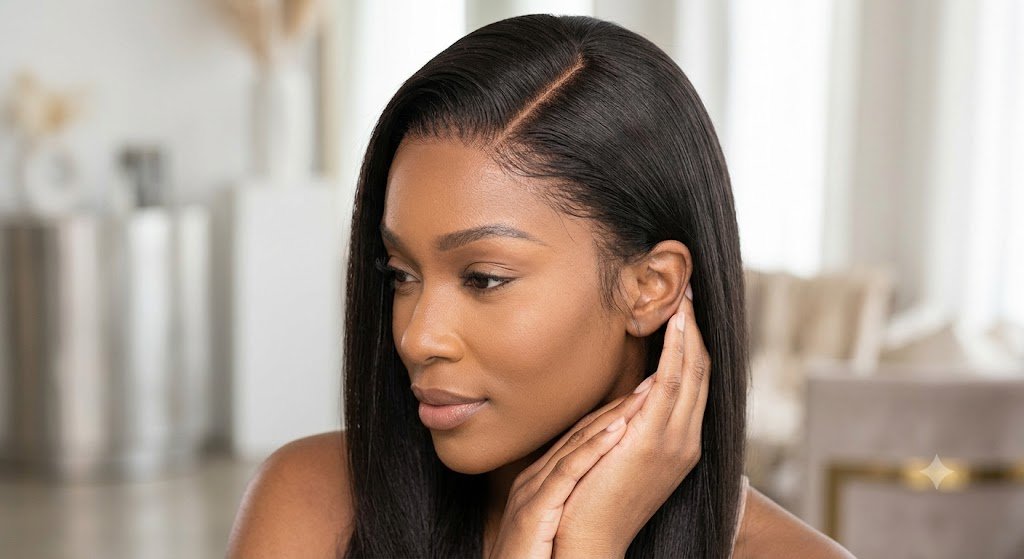
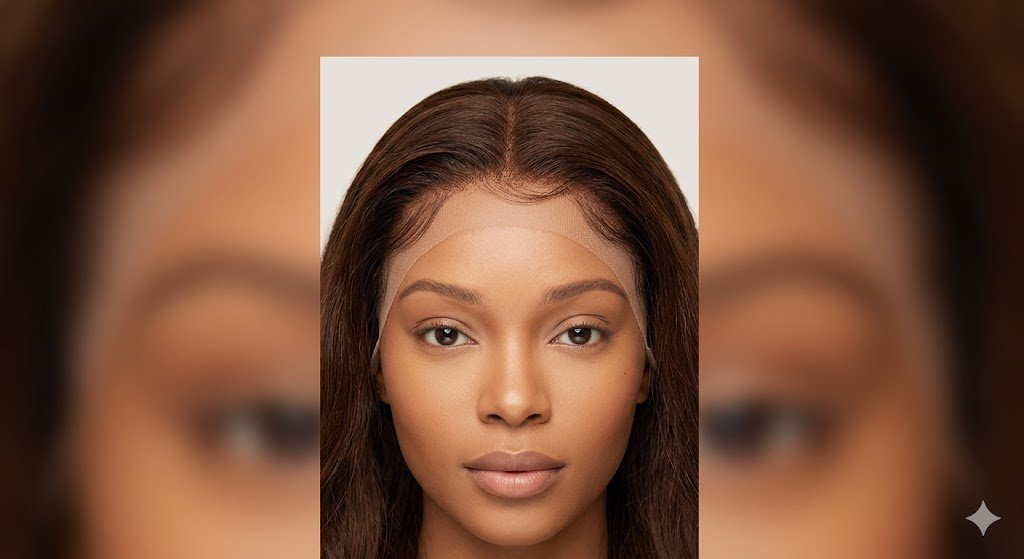
Here’s a secret to converting your look with minimal effort and no damage: wear a lace front wig. From silky straight wigs to shaggy textured ones or maybe even a full 613 lace front wig, your main focus should always be a seamless hairline. After all, no one wants a harsh edge, exposed lace matrix, and visible dark knots.
If you have ever wondered why some installs look like custom work while others scream “wig,” the secret lies in the preparation and customization steps. Making lace front wigs look completely seamless takes more than taking them out of the box and slapping on some glue.
In this ultimate guide, you will learn the top five proven techniques to melt your lace, customize your wig, and achieve an undetectable finish every time.
✨ SEPTEMBER SAVINGS! Take 25% off your entire order, or join our Insider program to get 30% off! Shop Sept 11-20th.
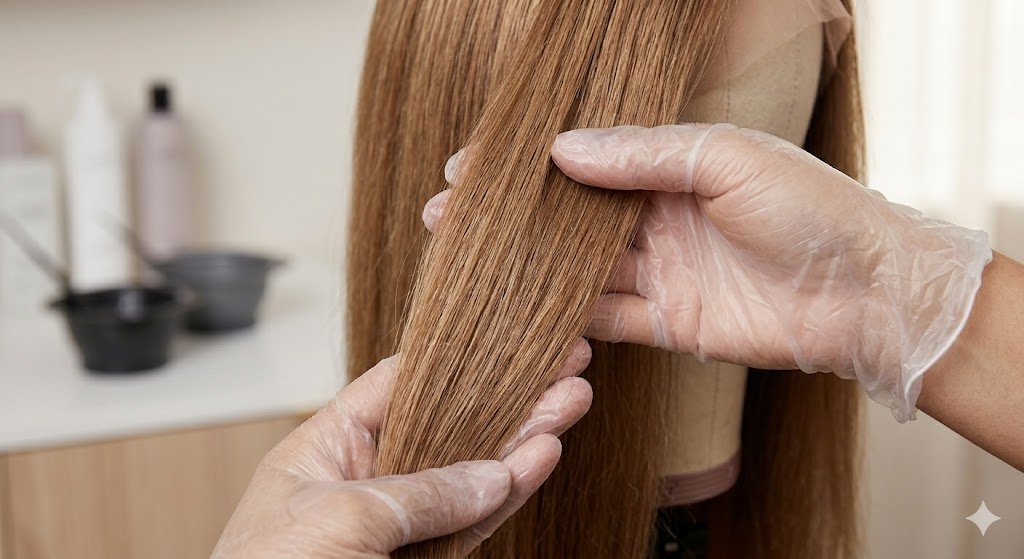
Secret 1: Bleach the Knots Correctly to Erase Dark Dots
Every high-quality lace front wig has individual strands of hair hand-tied into microscopic lace grids. Where those hair strands attach, small dark knots form. If left unbleached, these tiny dots look like dark specks along your hairline, immediately giving away your hairpiece.
How Bleaching Works
Bleaching lightens those tied knots so they match the tone of the lace base and your natural scalp skin.
- Mix to the Right Consistency: Combine bleach powder with 20 or 30-volume developer until it forms a thick, cake-batter texture. If the mixture is too runny, it will seep through the mesh matrix and stain the root hair strands.
- Apply Lightly: Gently spread the mixture over the lace side of your front lace wigs. Avoid pressing down with force so the bleach sits strictly on the knots.
- Neutralize and Tone: Rinse the bleach thoroughly after 15 to 25 minutes using a neutralizing shampoo to stop chemical processing. Follow up with purple shampoo to strip away any brassy orange or bright yellow undertones.
For light-colored hair, such as a 613 full lace wig, bleaching knots is usually unnecessary because the hair fibers are already blonde. However, for natural black or brown wigs—especially long straight wigs—bleaching the knots is a mandatory step for an invisible finish.
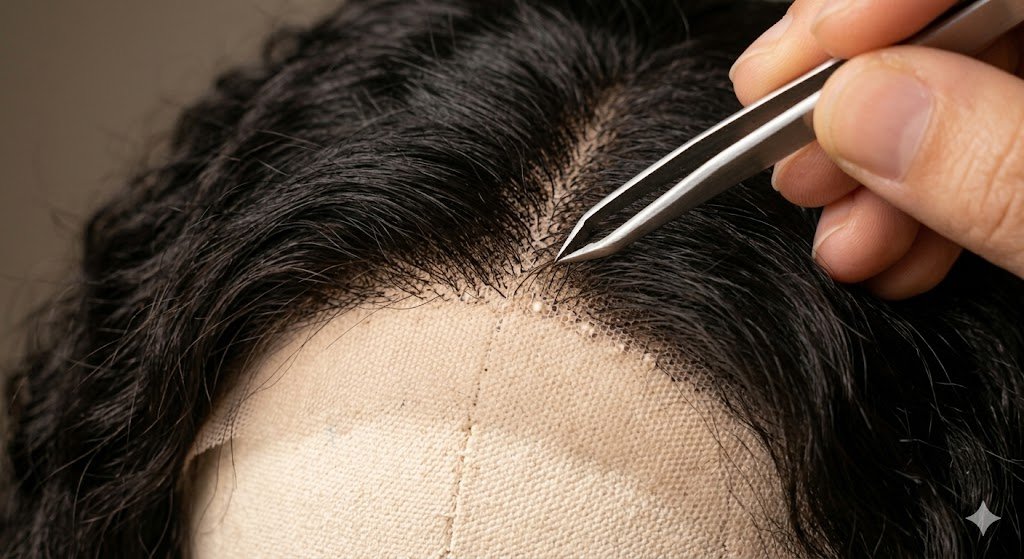
Secret 2: Custom-Pluck the Hairline for Realistic Density
- Factory-made lace front wigs that you buy off-the-shelf generally have dense, blunt hairlines. The human hairline is naturally less dense at the front and gradually gets thicker toward the crown.
Steps for Plucking Like a Stylist
- Dry and Secure: Place your wig on a mannequin head and pin it securely along the ear tabs.
- Section Out Baby Hairs: Separate a thin layer of hair along the perimeter edge and comb it forward.
- Tweeze the Layer Behind: Using sharp tweezers, pluck individual strands from the section just behind your front perimeter line. Use a gentle backward motion, pulling in the direction of hair growth.
- Space Out Tweezing: Never pluck repeatedly in one tiny spot, as this creates noticeable bald gaps. Move space by space along the perimeter to create a subtle, natural fade.
Taking fifteen minutes to pluck your lace front wig turns a dense wig edge into an undetectable hairline that mimics natural growth.
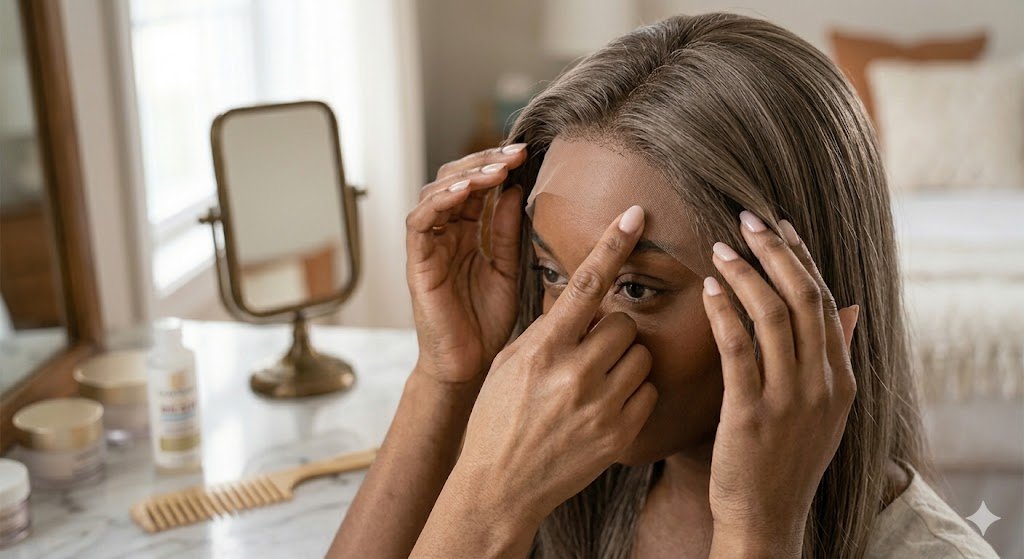
Secret 3: Tint the Lace to Match Your Exact Skin Undertone
Even high-definition (HD) or transparent lace can look gray or chalky if the tint does not align with your skin tone. Tinting the lace grid ensures that the base disappears completely once pressed against your forehead.
Top Methods for Lace Tinting
- Lace Tint Sprays: These unique sprays also match selected undertones (warm, cool, olive, neutral). Spray on a light coat to the underside of the lace and blow-dry on cool heat.
- Liquid Makeup Foundation: Take a tiny dot of liquid foundation or concealer on a makeup sponge and press firmly into the underside of the lace base.
- Pressed Powder: Using a pressed powder matching your face hue, tap along your parting line for an instant scalp illusion for daily users who prefer a glueless installation.
Secret 4: Master the Melt with Gel, Glue, or Melting Bands
A floating lace edge vs. an invisible boundary line? So, how do you tell the difference? The key difference is the melting process. “Melting” means you press the lace into a skin-safe holding or adhesive spray so that the border will melt or blend into your skin.
Steps to Achieve the Ultimate Melt
- Clean Your Forehead: Wipe away skin oils, sweat, and makeup residue using 91% rubbing alcohol along your hairline.
- Apply Thin Layers: Apply thin, even layers of clear lace adhesive or holding spray. Let each layer dry until it becomes tacky before adding the next layer.
- Position and Press: Lay the lace down into the tacky adhesive carefully without pulling or stretching the lace out of shape.
- Tie It Down with an Elastic Melt Band: Wrap a stretchy satin or elastic melt band tightly over the hairline edge for 10 to 15 minutes. The heat from your head combined with constant compression fuses the lace down completely flat.
Secret 5: Flatten Your Natural Foundation Layer
Even a perfectly customized lace front wig will look bulky if the foundation underneath is lumpy. Creating a flat base keeps the wig cap sitting flush against your skull.
Foundation Best Practices
- Braid Tight Cornrows: Braid natural hair into small, flat cornrows straight back toward the nape of your neck.
- Wrap and Cap: Place a bald cap or wig stocking cap over your braids. Ensure the cap matches your skin tone closely.
- Store and Protect: Keep your hair strands hydrated underneath using lightweight oil or leave-in conditioner to prevent friction breakage under the wig.
Pros & Cons of Lace Front Wigs
Pros
- Scalp Realism: Created with a natural hairline, can be more realistic than basic hard-front synthetic wigs.
- Styling Flexibility: Parting can be styled along the front section ( deep side part, half up)
- Protective Style: Keeps our hair protected from daily heat styling, environmental damage and chemical processing.
Cons
- Requires Customization: Demands time to pluck, bleach, and tint for an invisible look.
- Lace Fragility: Delicate lace mesh can tear or stretch if handled aggressively during washing or brushing.
- Maintenance: Requires regular washing, re-setting, and careful storage on mannequin stands.
What People Ask AI
How long can you leave a lace front wig glued down?
What is the durability of glue? The majority of temporary holding sprays last from 1 to 3 days, while some waterproof lace adhesives can give a lace front wig a long-lasting hold for 2 to 4 weeks with proper maintenance. Don’t keep glued installs for more than 4 weeks due to sweating.
Is HD lace better than transparent lace?
Yes. HD (High Definition) lace is thinner, softer, and more transparent than standard Swiss or transparent lace. It melts into almost any skin tone with minimal effort, though it is more delicate and requires gentle handling.
Can beginners install front lace wigs at home?
Absolutely. Beginners can opt for pre-plucked, pre-bleached glueless wigs or practice basic melting sprays before working with strong liquid adhesives.
Summary
It’s all about the right customization and your install process! If you want to make your lace front wig look totally invisible, here’s what you should do: Bleach those dark knots, pluck that natural-looking hairline gradient, dye the lace base to match your skin tone, learn how to master the melt band technique and keep your natural foundation braids flat.
Whether you love sleek straight wigs, textured curls, or a stunning 613 full lace wig, taking these extra steps elevates your hair game completely.
Don’t forget: ✨ SEPTEMBER SAVINGS! Take 25% off your entire order, or join our Insider program to get 30% off! Shop Sept 11-20th. Upgrade your lace wardrobe and grab your favorite hair pieces today!