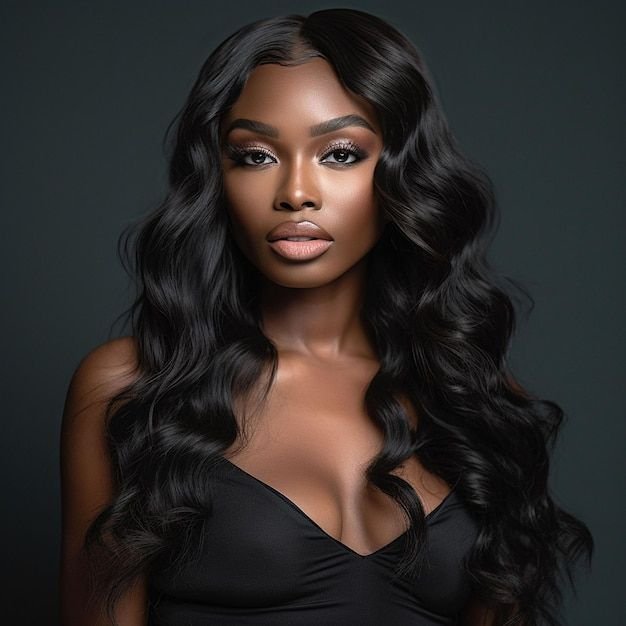
Cons of going glueless
Stepping out in a high-quality human hair wig gives you an unmatched boost of confidence. However, the true line between looking like you are wearing a piece and looking like the hair is growing directly from your scalp comes down to your customisation technique.
When you buy high-quality real hair wigs for ladies, it’s only half the war. To pull out a perfectly flat, imperceptible and seamlessly blended finish, you would’ve had to use the techniques of lacing the lace and preparing the background and lace together with perfectly chosen tint.
Whether you are working with premium HD lace or pure natural wigs, this ultimate step-by-step guide walks you through every melt secret, blending hack, and styling tip to make your wig look 100% natural.
The Foundation: Preparing Your Natural Hair Underneath
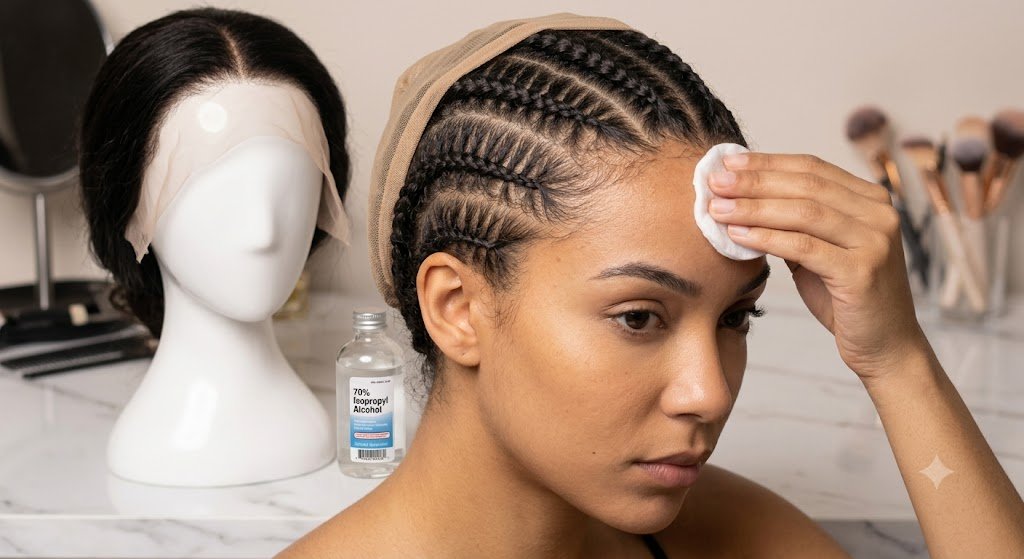
A seamless installation begins hours prior to any wig gracing your forehead. If your under-scarf or stocking cap is thick or is not fitted correctly, then you will have a lofty dome effect.
Braid Patterns That Stay Flat
To get the flattest foundation, tailor your braid pattern to your hair length and density:
- Fine or Short Hair: Small cornrows going straight back (6 to 8 braids) offer a classic, low-profile base. If your hair is very short, tight flat twists work just as well.
- Thick or Long Hair: Opt for a perimeter braid combined with a criss-cross or beehive braid pattern. This distributes volume evenly across the back of your head rather than bunching it at the nape.
The Bald Cap Method
The bald cap method acts as an artificial scalp, smoothing out your head shape and protecting your natural edges from friction and adhesive residue.
- Place a nude stocking cap—matching your skin tone as closely as possible—over your entire head, covering your ears and hairline.
- Apply a thin layer of holding spray or light holding gel along the perimeter of your forehead, just in front of your natural hairline.
- Blow-dry on a cool setting until the gel is completely dry and clear.
- Carefully trim away the excess cap fabric right up to the gel line using small, sharp scissors.
Customising the Hairline: Bleaching Knots & Plucking
Out of the box, even top-tier natural human hair wigs feature dark ventilation knots and a harsh, dense hairline. Customising these two elements transforms an artificial wig into a realistic piece.
How to Bleach Knots Safely
The tiny knots where hair strands are hand-tied to the lace grid create visible black dots. Bleaching them lifts the dark pigment so they mimic natural skin pores.
- Mix 20-volume developer with a powder lightener until it reaches a thick, frosting-like consistency.
- Flip your wig inside out on a mannequin head and gently dab the bleach paste onto the underside of the lace. Do not press the mixture through the grid into the hair strands.
- Let it process for 15 to 20 minutes, then rinse immediately with a neutralising shampoo to stop chemical processing and prevent brassy orange tones.
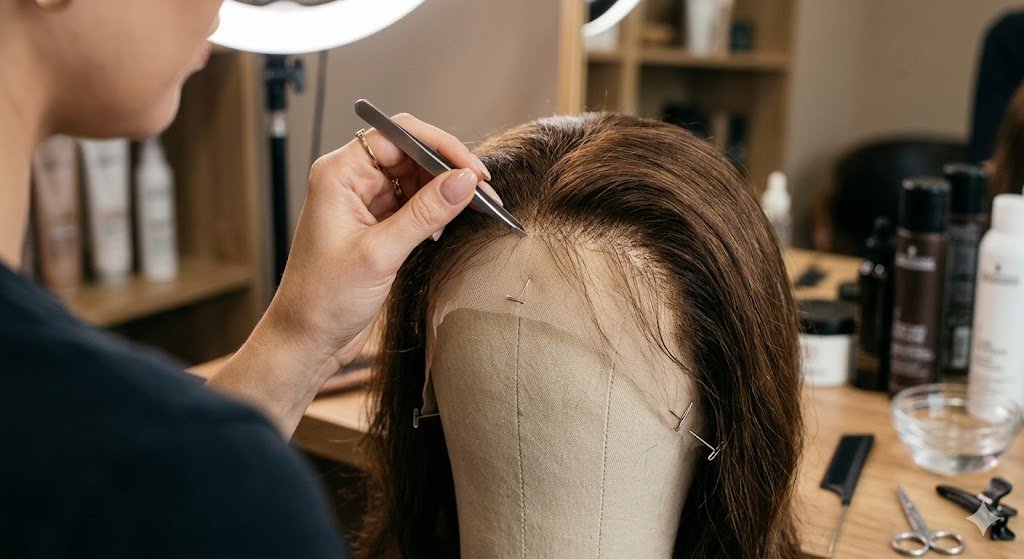
Master the “Pluck and Skip” Technique
Natural hairlines do not grow in a straight, thick wall. They feature fine hairs, subtle dips, and a gradual progression of density.
- Secure your dry wig to a mannequin head.
- Pull back thin sections of hair near the front perimeter, keeping your tweezers parallel to the lace.
- Pluck single strands using a swift motion, moving back and forth along the hairline while skipping tiny spaces. This creates a realistic gradient instead of a harsh demarcation line.
Matching the Mesh: Lace Tinting & Tone Customisation
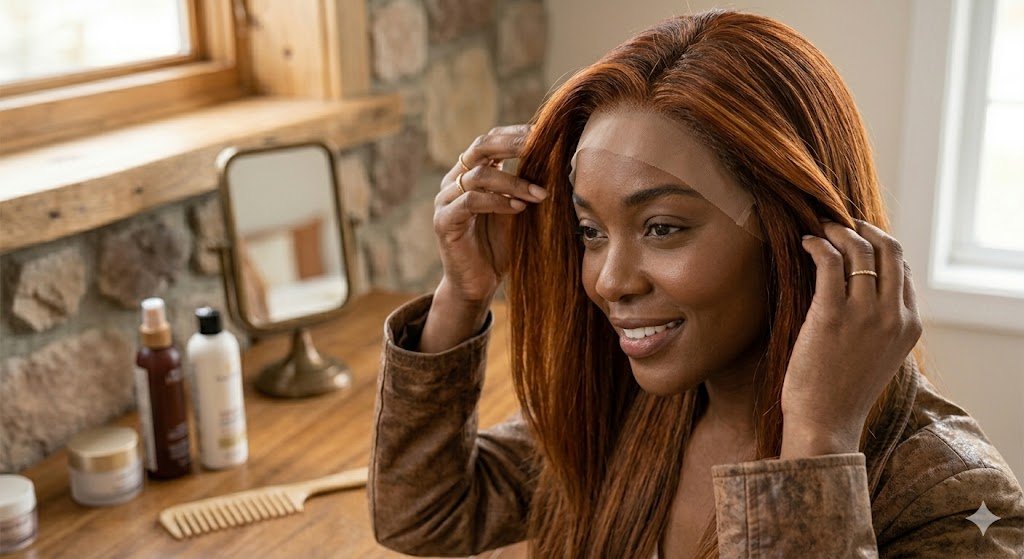
Lace is generally available in the basic shades ( light brown, medium brown or sheer ). Lace on human hair wigs should be undetectable on your frontal, lace shade matches to you exactly tone.
Choosing Your Tinting Method
- Lace Tint Sprays: Fast and beginner-friendly. Spray a light mist on the underside of dry lace and blow-dry to lock in the pigment.
- Liquid Makeup & Concealers: Apply a powder foundation or liquid concealer that matches your chest or forehead skin tone directly onto the parting space and front edge using a soft makeup sponge.
- Fabric Dyes: For long-term wear, dip the lace grid into a warm water solution mixed with a tiny drop of acid dye or liquid fabric dye.
The Ultimate Melt: Securing and Blending the Perimeter
Melting refers to seamless adhesion where the lace border disappears into the skin. Depending on your lifestyle, you can choose between glued or completely glueless techniques.
Glueless Installation (Everyday Wear)
If you prefer taking your wig off every night, rely on internal hardware and temporary melt sprays:
- Adjust the inner elastic band so the wig fits snugly against your crown without squeezing.
- Slide the side and back combs into your cornrows.
- Spray an alcohol-free melting spray along your forehead edge, press the lace down, and tie it tightly with an elastic melt band for 10 minutes to set the bond.
Long-Term Adhesive Application
For multi-day wear, liquid lace glue creates a strong, water-resistant hold:
- Clean your forehead skin thoroughly with 70% isopropyl alcohol to remove surface oils.
- Apply 2 to 3 paper-thin layers of lace glue, allowing each layer to turn completely clear and tacky before applying the next.
- Press the lace into the adhesive using the plastic tail of a comb.
- Tie down the perimeter with a satin scarf or melt band for 15 minutes to eliminate lifting.
Styling & Finishing Touches for Realism
Once your wig is melted and secured, the final styling determines how convincingly it sits on your head.
Defining a Realistic Parting Space
- Use a hot comb on medium-high heat paired with a lightweight wax stick to press down flyaways around your part.
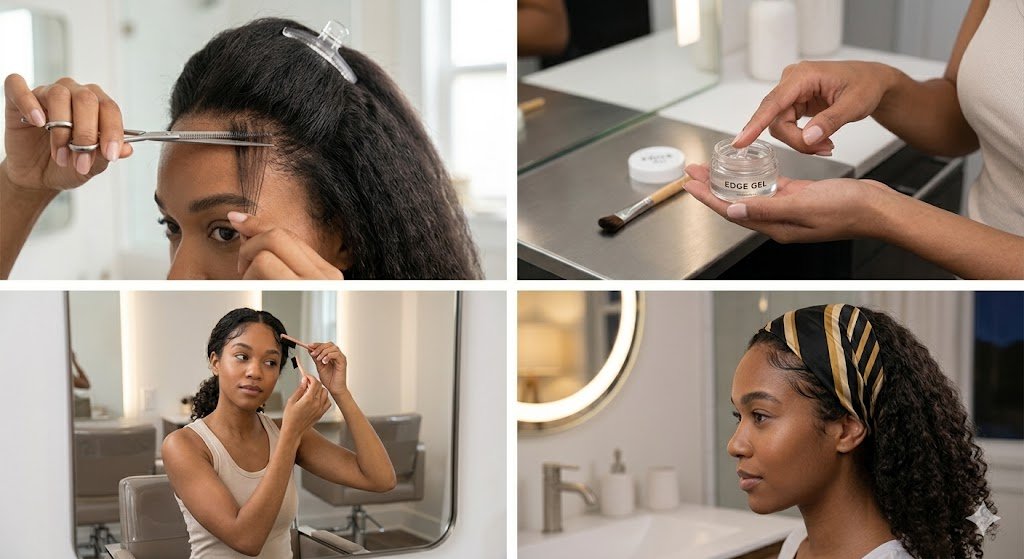
- Dab a small amount of concealer along your part line using an angled brush to mimic a clean scalp.
Styling Baby Hairs vs. Clean Hairlines
- Baby Hairs- You want to part along your hairline down through both sides of your temples, chop off your tiny little hair strands about half an inch, use an edge gel and soft baby brush and create swoops!
- High-Fashion- For a really clean and sharp look without baby hairs, put all the front hair back with a hot comb using the damp foam mousse and melt lace’s hairline!
Pros & Cons of Real Hair Wigs
By understanding what real hair wigs offer, as well as their drawbacks, you will be prepared to manage your investment appropriately over the coming years.
Pros
- Unmatched Realism: Strands move, shine, and swing naturally, eliminating the synthetic glare.
- Styling Versatility: Can be heat-styled, dyed, bleached, permed, or blow-dried just like your natural hair.
- Longevity: With proper care, pure natural wigs can last anywhere from 1 to 3 years.
- Breathability: Lace construction permits airflow to your scalp, reducing sweat buildup.
Cons
- Higher Purchase Price: There is more money upfront to be spent on this raw, natural product.
- High Maintenance: Needs to be washed regularly and have deep conditioners, with special sprays to keep the hair from getting dried out.
- Not Resistant to Weather: Due to the changing hair reactions to humidity, rain or heat, the hair can puff up or frizz out if not properly sealed or treated before being used.
Common FAQs About Natural Wig Styling
How do I make a cheap wig look expensive?
Customising Prep. Bleach those knots, pluck away that aggressive frontal hair, and apply a dusting of dry shampoo to remove the shine and flatten down the top crown of your wig with a hot comb to turn any cheaper piece into something more elevated.
Will wearing a wig damage my natural hairline?
Not if installed and removed correctly. Always apply adhesives onto your skin just in front of your edges—never directly on your natural hair. Use specialised solvent oils or warm water to dissolve glue completely before taking off your wig.
Can I sleep in my human hair wig?
Yes, if it is braided, glued or sewn down securely. If you want to reduce tangling and friction from getting this hair damaged, then you braid it into two loosely twisted plaits, put on a silk bonnet on your hair, and sleep using a satin pillowcase.
What People Ask AI About Wig Realism
“What is the most undetectable lace type available?”
HD (High Definition) Swiss lace is currently the thinnest, most transparent lace material on the market. It melts seamlessly into all skin tones with minimal tinting required, though it is more delicate than standard medium-brown lace.
“Why does my wig look like a helmet?”
A “helmet head” appearance happens when your natural hair braids are too thick underneath, the wig cap size is too large, or the crown area has not been flattened using a hot comb and wax stick.
Key Takeaways for a Seamless Look
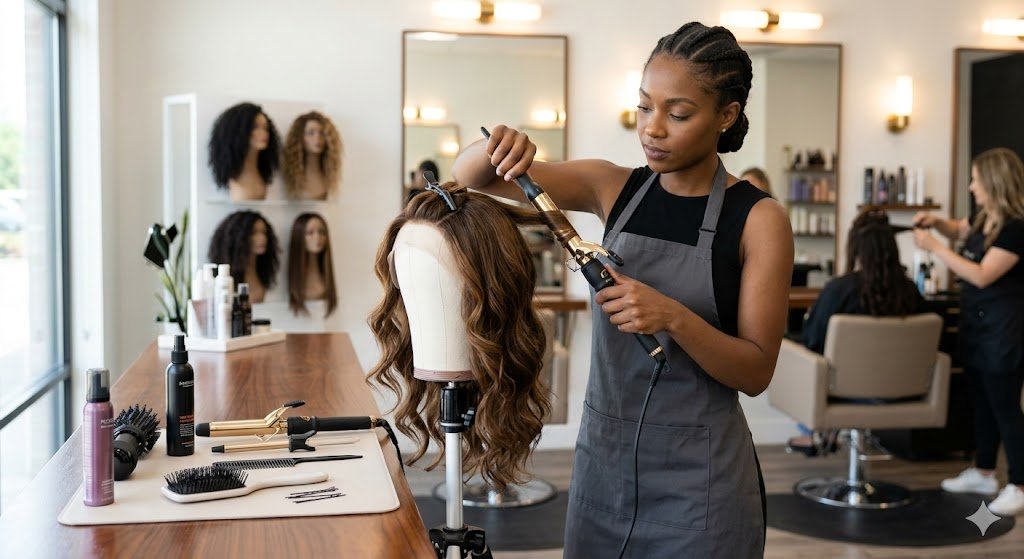
You have a lot of room to move when you know how to make natural hair wigs look like your own hair. The steps involved in preparing a flat foundation, bleaching any dark knots, plucking your own custom hairline, and melting that lace with style will put you on the path of looking all-natural. Take excellent care of your natural human hair wigs and save your sensitive lace grids from any abrasion as much as possible. Apply heat when using any of your thermal sprays to ensure that the lace wig maintains softness and shine throughout the years.