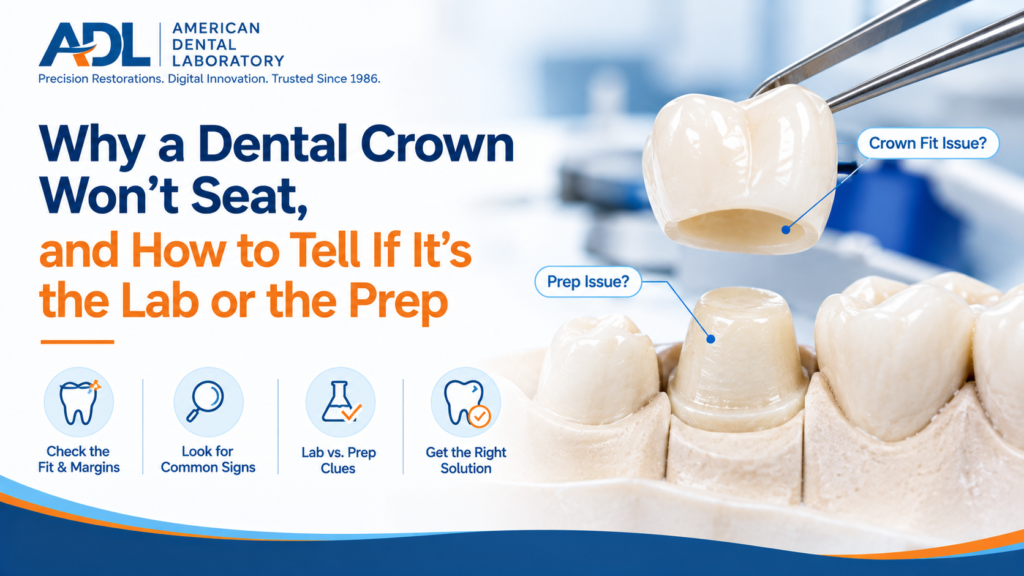
Quick insight: Check the proximal contacts first. They are the most common reason a crown will not seat fully, and they are the easiest thing to rule out. If the crown drops into place once a contact is relieved, the problem was never the fit surface.
If contacts are clear and the crown still sits high, the cause is internal: either the crown is binding somewhere inside, or there is not enough cement space for the cement to escape. A third possibility, an undercut or unsupported margin on the preparation, shows up as a crown that seats on the die at the laboratory but not in the mouth.
Working through those three in order usually identifies the cause in a few minutes.
The Three Things That Stop a Crown From Seating
Almost every non-seating crown traces back to one of three places.
- Proximal contact interference. The crown is held up by an adjacent tooth before it reaches the preparation.
- Internal interference or inadequate cement space. Something inside the crown touches the preparation early, or the cement has nowhere to flow.
- Preparation problems. An undercut, a sharp line angle, or a margin the laboratory could not read accurately.
The order matters. Contacts are checked in seconds, internal fit takes a minute with disclosing material, and preparation problems are the diagnosis of exclusion.
Start With the Contacts
Tight proximal contacts are the leading cause, and the reason is mechanical rather than technical. The crown wedges between neighbouring teeth and stops before the margin ever reaches the finish line.
What makes this harder than it sounds is that the interference is often too small to see. A clinical trial on proximal contact adjustment randomised 124 patients receiving posterior crowns across four methods of marking contacts, and found that the precision of the marking medium directly affected whether the crown seated without further adjustment. Thinner marking materials at 3 and 8 microns identified binding points that standard 40 micron articulating paper missed.
Practical sequence at try-in:
- Try the crown without cement and check whether it rocks or springs back
- Pass floss through both contacts and compare resistance against the adjacent natural contacts
- Relieve one contact at a time and re-seat, rather than adjusting both at once
- If the crown drops in after relief, stop looking. The fit surface is fine.
A crown that seats fully once a contact is opened was never a laboratory fit problem. It was a contact built slightly tight, which is a design decision rather than an error, since contacts that arrive loose cannot be added to.
Then Check Inside the Crown
If contacts are clear and the crown still sits high, the interference is internal.
Disclosing material is the fastest way to find it. A thin layer of silicone or disclosing paste inside the crown, seated firmly, will show contact points as wipe-through areas. Those are the spots to relieve.
The two usual internal causes:
Not enough cement space. The cement has to escape as the crown seats. If the internal relief is too thin, hydraulic pressure builds and the crown stops short. Classic work on improving crown fit with die spacers found that crowns were not completely seated when a thin cementation space was provided, and that leaving the cervical part of the axial walls uncovered by spacer cancels out the benefit of relief elsewhere.
Binding at the axio-occlusal angle. This is the most common single location. Spacer tends to flow away from sharp line angles and cusp tips, leaving less relief exactly where the crown seats last.
Clinically acceptable internal relief sits around 20 to 40 microns on the axial walls. Below that, seating problems become likely regardless of how accurate the crown is.
Why the Margin Needs Space Too
There is a common assumption that zero spacer at the margin produces a better seal. The opposite tends to happen.
Research comparing marginal cement space settings found that setting the spacer to zero around the margin creates intimate contact between the crown and the preparation at the finish line. That raises frictional resistance, which raises hydraulic pressure, which produces incomplete seating and a larger marginal gap than a spaced crown would have had.
So a crown designed for a perfect margin can end up with a worse one. This is a design parameter the laboratory sets in software, and it is worth asking about when seating problems recur across multiple cases from the same source.
Cementation Technique Changes the Outcome
Some of the discrepancy happens during cementation itself, after everything else has been checked.
A study examining cement, cement space, marginal design and seating force measured seating before and after cementation and found each of those variables affects the final result independently.
The volume of cement matters more than most protocols acknowledge. Brushing a thin layer onto the internal surface produces substantially less seating discrepancy than filling the crown half full, and far less than filling it completely. Excess cement has to travel further to escape, and it accumulates at the occlusal surface as the crown seats.
Three things that help:
- Apply cement as a thin brushed layer rather than filling the crown
- Use sustained seating pressure rather than a single push
- Hold the crown seated through the initial set rather than releasing early
The Preparation Itself
If contacts are clear, disclosing shows no binding, and the crown still will not seat, the preparation is the remaining variable.
- Undercuts. A rigid crown cannot seat over an undercut. Design software blocks these out digitally, which means a milled monolithic zirconia crown fits a preparation shape that does not exist in the mouth.
- Sharp line angles. Milling burs have a minimum radius, so a sharp internal angle cannot be reproduced exactly, and the crown binds there.
- An unreadable margin. If tissue or blood obscured the finish line at impression or scan, the laboratory marked a margin that is not where the real one sits.
- Movement between appointments. Adjacent teeth can drift, particularly if the provisional was lost or the interval was long.
Telling Lab From Prep
| What happens | Likely cause | Where it originated |
| Seats after relieving a contact | Tight proximal contact | Laboratory design, minor |
| Disclosing shows a single internal spot | Binding at line angle or axio-occlusal area | Laboratory or prep geometry |
| Disclosing shows broad contact all over | Inadequate cement space | Laboratory design parameter |
| Seats dry, sits high after cementation | Cement volume or technique | Practice |
| Will not seat at all, no clear binding point | Undercut in the preparation | Preparation |
| Fits the model but not the mouth | Margin misread, or tooth movement | Impression or interval |
| Same problem across several cases | Design settings at the laboratory | Laboratory |
That last row is the useful one. A single crown that will not seat is a case. A pattern across several is a settings conversation.
What the Laboratory Should Have Caught
Most of these are visible on the bench before the case ships.
A crown should be seated on the die and checked for rocking, contacts should be verified against the adjacent teeth rather than assumed, and the fit surface should be inspected for milling artefacts. Where a margin is unclear or an undercut is present, that belongs in a call on day one rather than in the box at delivery.
Laboratories that review preparations at case receipt catch undercuts and unreadable margins before any design work begins, which is the point where a case can still be corrected without a remake. American Dental Laboratory, a full-service laboratory operating in Texas since 1986, is one of a number of independent labs that flag preparation issues back to the practice at intake rather than proceeding to design on an unclear margin.
Frequently Asked Questions
What is the most common reason a crown will not seat?
Proximal contacts. They should be checked and relieved first, before any assessment of the fit surface.
How do I find an internal interference?
Disclosing material inside the crown, seated firmly, shows binding points as wipe-through areas. The axio-occlusal angle is the most frequent location.
How much cement space should a crown have?
Roughly 20 to 40 microns of relief on the axial walls. Too little causes hydraulic resistance and incomplete seating. Too much at the margin increases the marginal gap.
Why does the crown fit on the model but not the mouth?
Either the margin was misread on an obscured finish line, an undercut was digitally blocked out during design, or adjacent teeth moved between impression and delivery.
Should the crown be adjusted or sent back?
A single contact or a small internal binding point is usually faster to adjust chairside. A crown with broad internal contact, or one that will not seat over an undercut, should go back rather than be ground into place.
Final Insight
A crown that will not seat is almost never a mystery. Three checks in order, contacts, internal fit, then preparation, will identify the cause in most cases within a few minutes.
The more useful question comes after the second or third occurrence. One crown that will not seat is a case. Three in a month points at a design parameter or a preparation habit, and that is worth a conversation rather than another adjustment.